Current Page: Home > Mac Apps > Super Denoising > Weak Noise
Current Page: Home > Mac Apps > Super Denoising > Weak Noise
 |
 |
 |
 |
 |
| Strong Noise Fixing | Weak Noise Fixing | Portrait Beautify | Sharpen Effects | Jepg Artifacts Fixing |
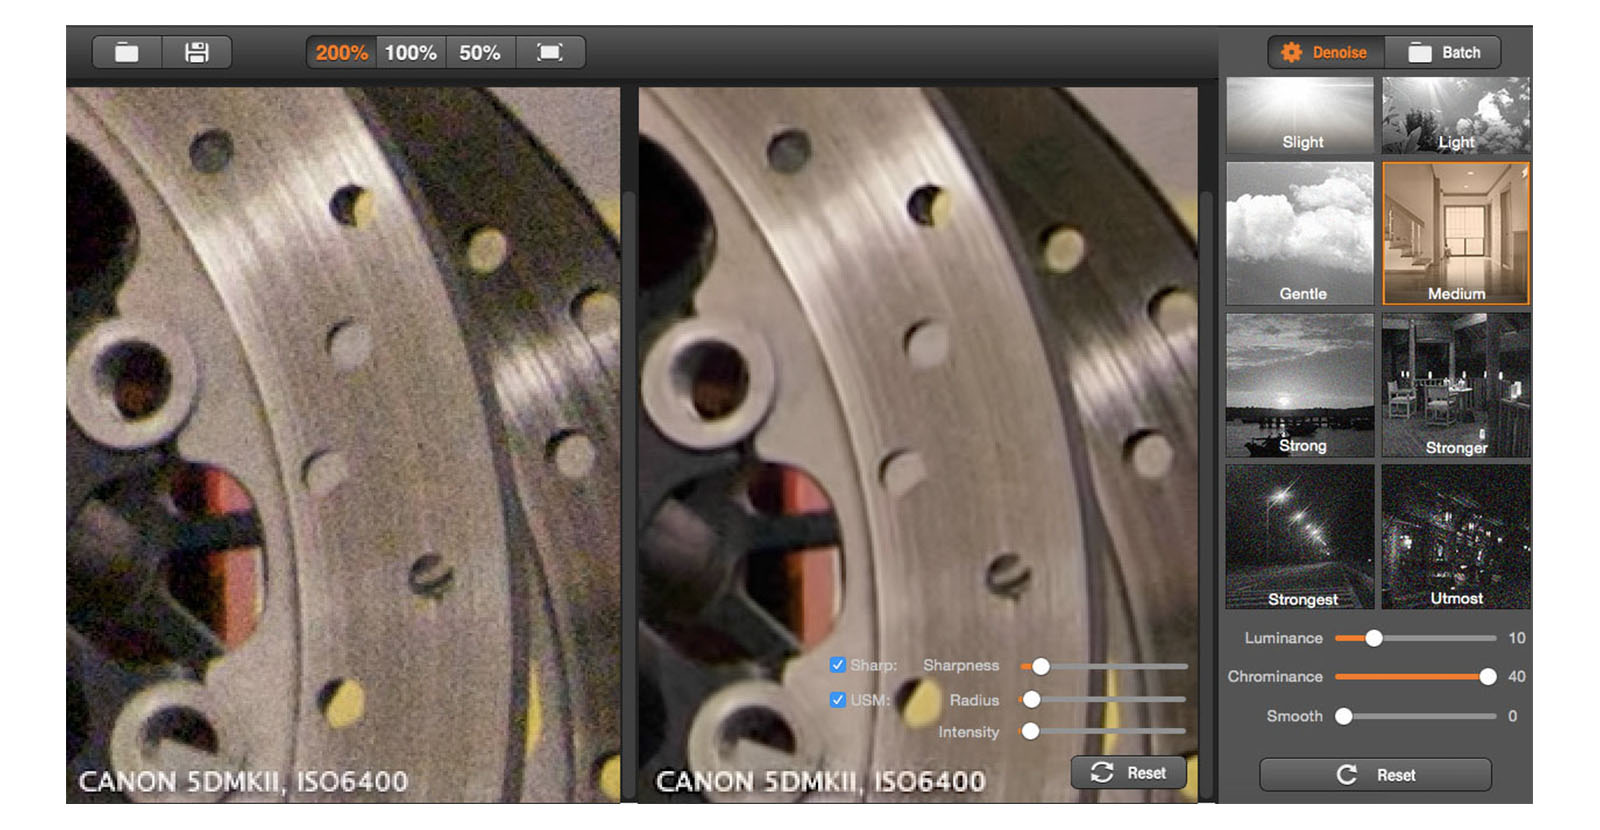
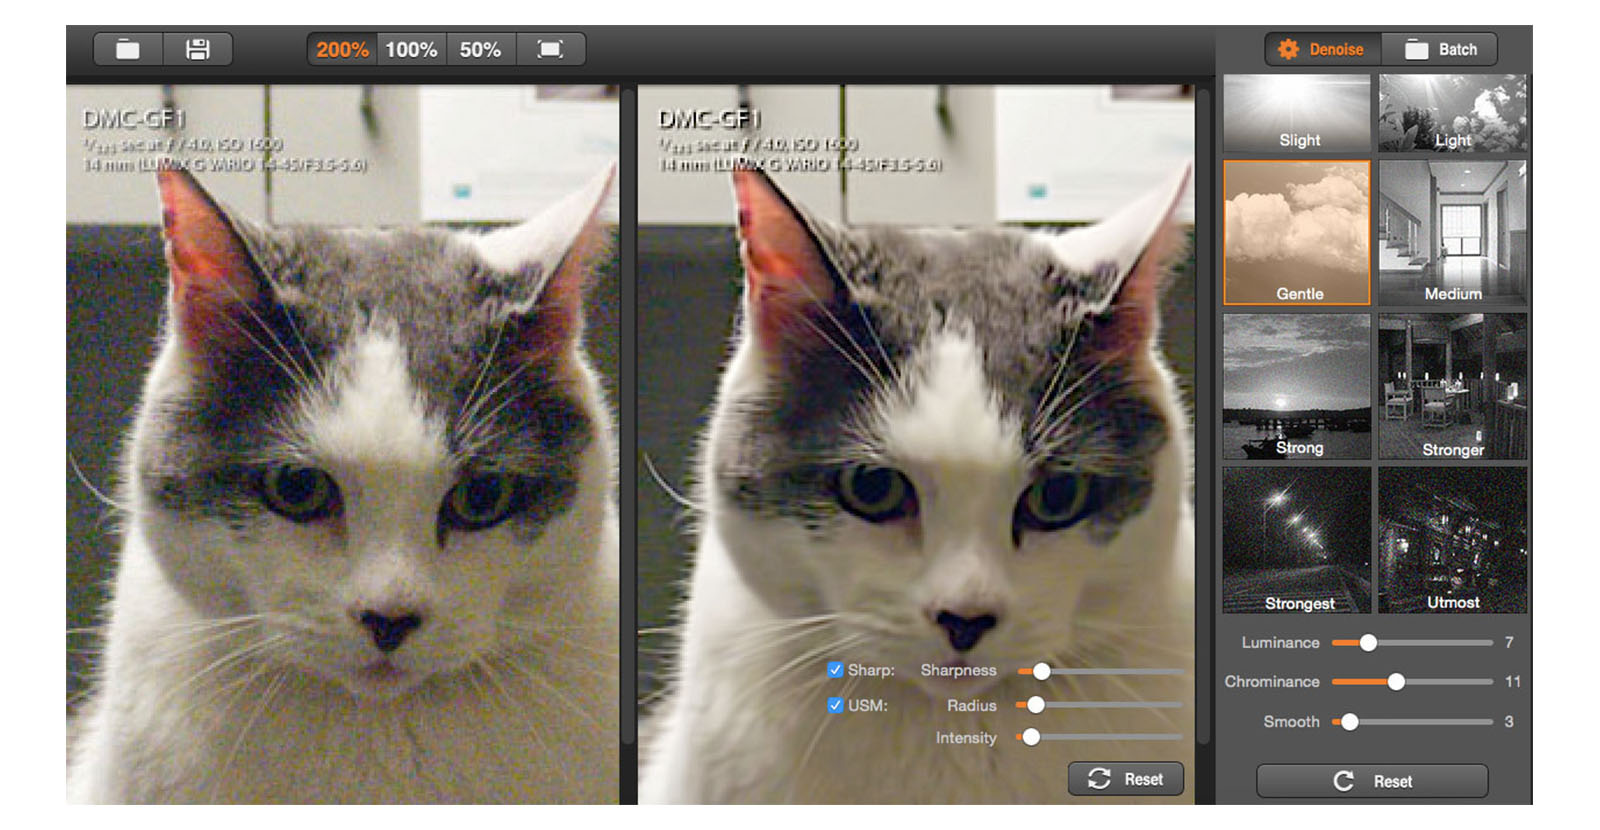
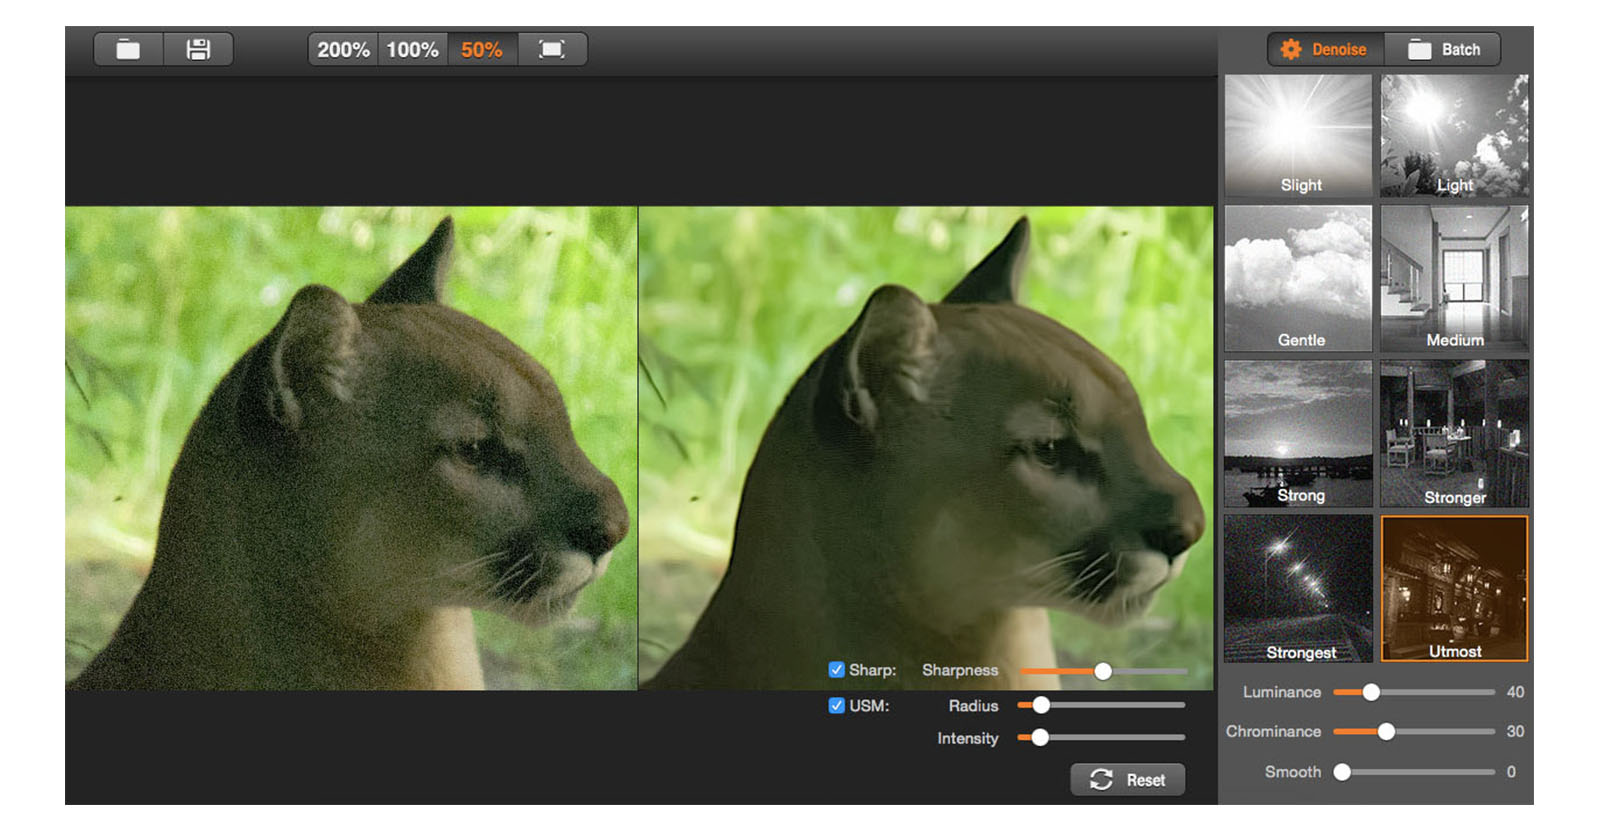
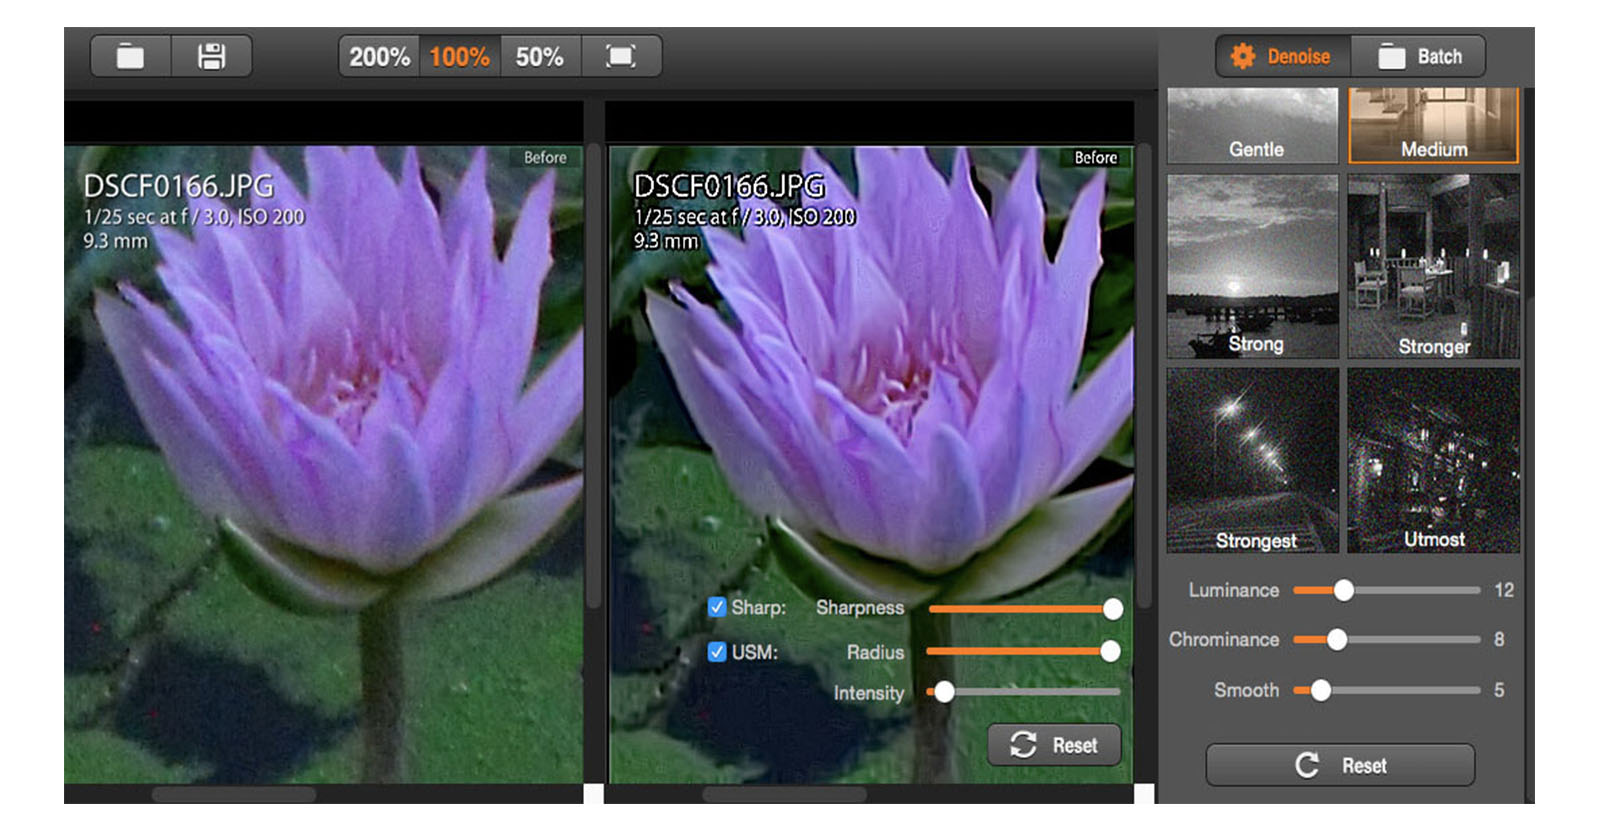
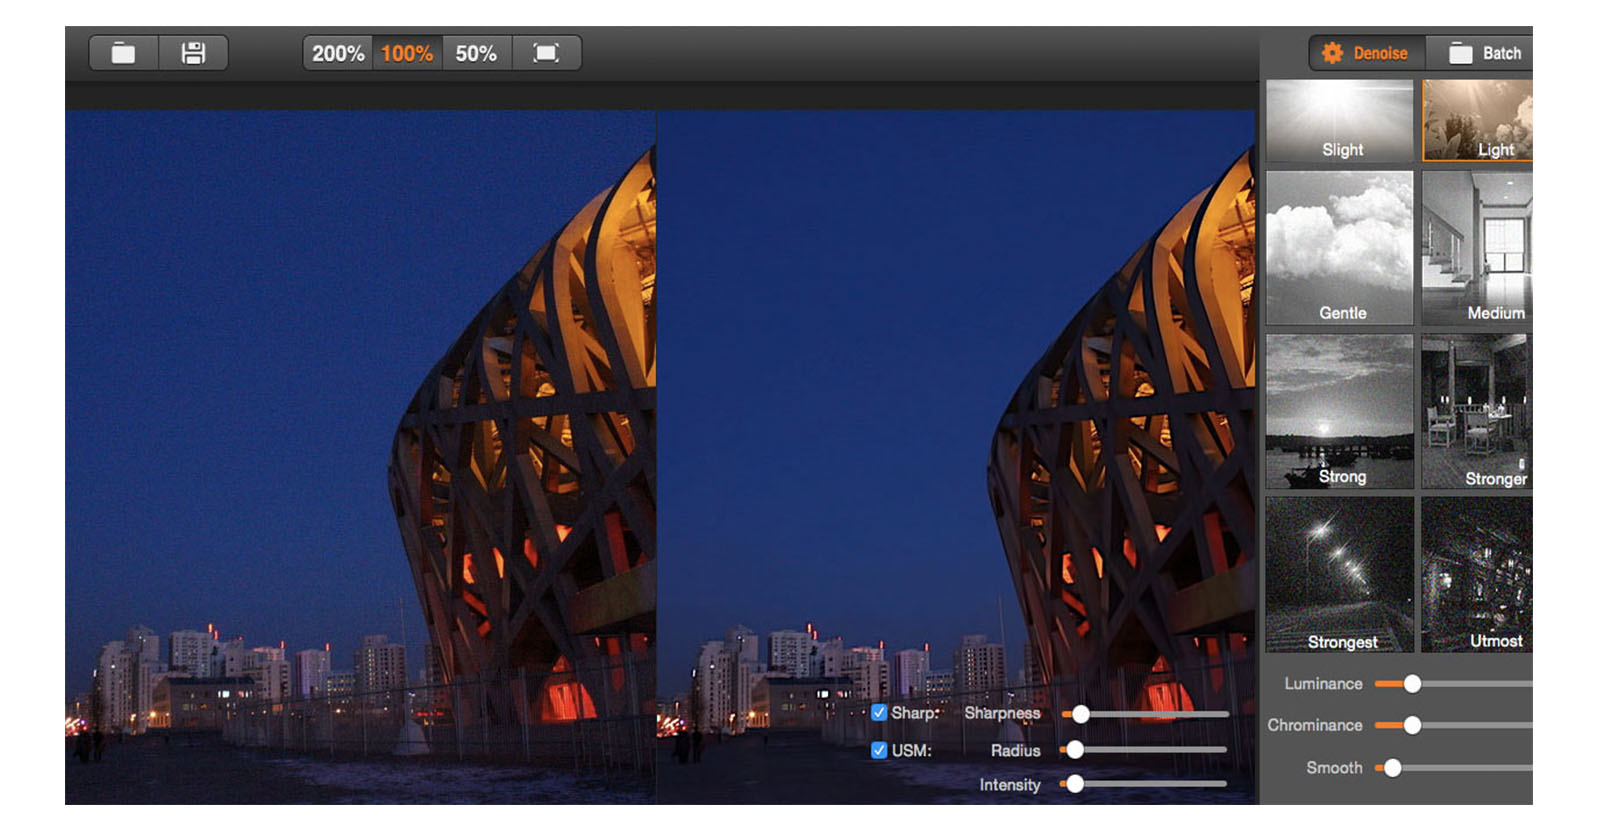
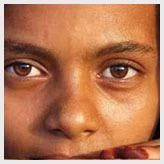
The original photo at the left appears soft noise and less detailed. The right photo after applying noise reduction has recovered details very well and sharp edges.
Step 1: Choose the appropriate noise reduction level:
1. Slight, Light, Gentle and Medium denoising levels are focusing on removing soft noise.
Remember: If you can remove noise using lower denoising level (for example “Slight” level), you could not select “Light” level. Otherwise, too much noise removal will make the photo look like “plastic”.
2. If necessary, you can adjust smooth slider. Make the “Smooth” value as smaller as possible.
3. Radius, Sharpness, Intensify is for subtle adjustment. The left at the slider is smallest and the right is the biggest amount.


